

How to Export Vertical Video From Final Cut Pro (9:16)
Export vertical video from Final Cut Pro: set a 1080×1920 project, reframe horizontal footage, keep HDR, and export settings for Instagram and TikTok.
To export vertical video from Final Cut Pro, make the project itself vertical (1080 × 1920 for Instagram and TikTok), conform or reframe any horizontal footage inside it, keep the frame rate the footage was shot at, and share it as H.264 or 10-bit HEVC. Final Cut handles all of that well. What it doesn't do is make a 20-second reel quick, which is why the last two sections cover a clip library that feeds Final Cut and a small editor that replaces it for short pieces.
How to export vertical video from Final Cut Pro
- Create a new project with custom settings and set the resolution to 1080 × 1920.
- Add your clips, set Spatial Conform to Fill on horizontal footage, then reposition and scale each shot.
- Keep the frame rate the footage was shot at, 30 fps for most phone footage.
- Share as an export file: H.264 for SDR, HEVC 10-bit for HDR.
Each step has one trap. The project trap is exporting a horizontal frame with black pillars because the project was never changed. The conform trap is letterboxing. The frame-rate trap is a 60 fps project for 30 fps footage. The export trap is a flat, grey HDR export. All four are below, in order.
Step 1: Make the project vertical
When you create a new project, don't accept the defaults. Use the custom settings and set the resolution to 1080 × 1920 (or 2160 × 3840 if you're delivering 4K vertical; Instagram will show it at 1080 wide anyway, but the downscale is theirs and it's clean). Leave the frame rate to be set from the first clip you add, unless you know it: 30 fps for most iPhone footage, 24 if you shot for a filmic look, 60 if you shot 60 and want to keep it.
Already cut the piece in a horizontal project? Select the project in the browser, open its properties in the inspector, and modify the resolution there. Clips keep their timing, but anything you positioned by hand will need a look, because the frame it sits in is now a third as wide.
The viewer turns tall. The timeline doesn't care.
Step 2: Conform and reframe horizontal footage
This is where vertical projects in Final Cut go wrong, and also where the interesting decision lives.
Every clip has a Spatial Conform setting in the video inspector with three choices, and for horizontal footage in a vertical project they behave like this:
| Spatial Conform | What you get in a 1080 × 1920 project | When to use it |
|---|---|---|
| Fit | The whole horizontal frame, small, with black above and below | Almost never for Reels |
| Fill | The frame scaled to fill the height, the sides cropped off | The default for talking heads and centred action |
| None | The clip at its native pixel size, centred | 4K horizontal footage: a frame bigger than the project you can pan inside without upscaling |
Fill throws away roughly two thirds of a 16:9 frame. If the subject was centred when you shot, that's fine. If it wasn't, use the Transform controls (position and scale in the inspector, or the on-screen handles) to slide the subject into frame, and the Crop tool's Trim if there's a boom or a light stand at the edge.
The trick worth knowing: 4K horizontal (3840 × 2160) in an HD vertical project with Spatial Conform set to None is already bigger than the frame in both directions. You can place any part of that shot in the 1080 × 1920 window with zero upscaling, and you can keyframe the position for a slow pan across it. That's the argument for shooting 4K even when you deliver HD.
If the footage was shot vertical on an iPhone, none of this applies. It conforms to the project at 1:1 and you're done.
Step 3: Keep HDR if you shot it
iPhones shoot HDR video by default (HLG, with Dolby Vision metadata on top). Final Cut can carry that all the way to the export, but two settings have to agree, and when they don't the export comes out flat and grey.
First, the library's colour processing must be Wide Gamut HDR; it's a library property, and changing it is a one-click modify. Second, the project's colour space must be the HLG wide-gamut option, so it matches what the iPhone recorded. With both set, the viewer shows HDR on a display that can show it, and the export step can write 10-bit HEVC that Instagram and TikTok play as HDR on phones that support it.
If you want an SDR delivery instead, set the project's colour space to standard Rec. 709 and let Final Cut tone-map the HLG footage into it. Check the result on a phone; tone-mapped iPhone footage tends to look a touch darker than the phone's own preview.
Both platforms accept HDR uploads. What SDR viewers see is the platform's conversion, which you don't control, so look at the posted reel on a non-HDR device once before you settle on a workflow.
Step 4: Export settings for Instagram and TikTok
Use the share menu's Export File. Choose video and audio, then the codec:
| Instagram Reels | TikTok | |
|---|---|---|
| Aspect ratio | 9:16 | 9:16 |
| Frame size | 1080 × 1920 | 1080 × 1920 |
| Frame rate | Match the footage; 30 is the safe default | Match the footage; 30 is the safe default |
| Codec, SDR | H.264, Better Quality | H.264, Better Quality |
| Codec, HDR | HEVC 10-bit | HEVC 10-bit |
| Audio | AAC stereo | AAC stereo |
Final Cut's H.264 export doesn't give you a bit-rate number; it gives you Better Quality or Faster Encode. Pick Better Quality. Both platforms re-encode everything you upload, so a very high bit-rate master isn't worth much (no ProRes for upload; it's huge and it gets crushed the same), while a low one hurts, because their encoder is starting from a soft source. In words: for 1080 × 1920 at 30 fps, a file in the low tens of megabits per second is more than enough, and Better Quality lands there on its own. For 4K vertical, expect a few times that.
Keep the export as MOV or MP4; both platforms take either. Then upload from the phone or the desktop, whichever you use.
The four mistakes I see most
- The horizontal export with black pillars. The project was left at 1920 × 1080 and the clips were rotated or cropped instead. Fix the project, not the clips.
- Letterboxed footage. Spatial Conform on Fit. Set Fill or None.
- Titles and captions under Instagram's interface. Final Cut's safe-zone overlay is a TV convention, not Instagram's layout. The bottom of the frame carries the account name, the caption and the audio label; the right edge carries the button column. Keep text out of both. Adding captions to Reels on Mac has the full map.
- Flat, washed-out HDR. The library or project colour setting didn't match the footage. Set both to HDR, or both to Rec. 709, and re-export.
Where BetterLibrary fits, before Final Cut
The slow part of a Final Cut reel is rarely the export. It's finding the six seconds you remember across three shoots.
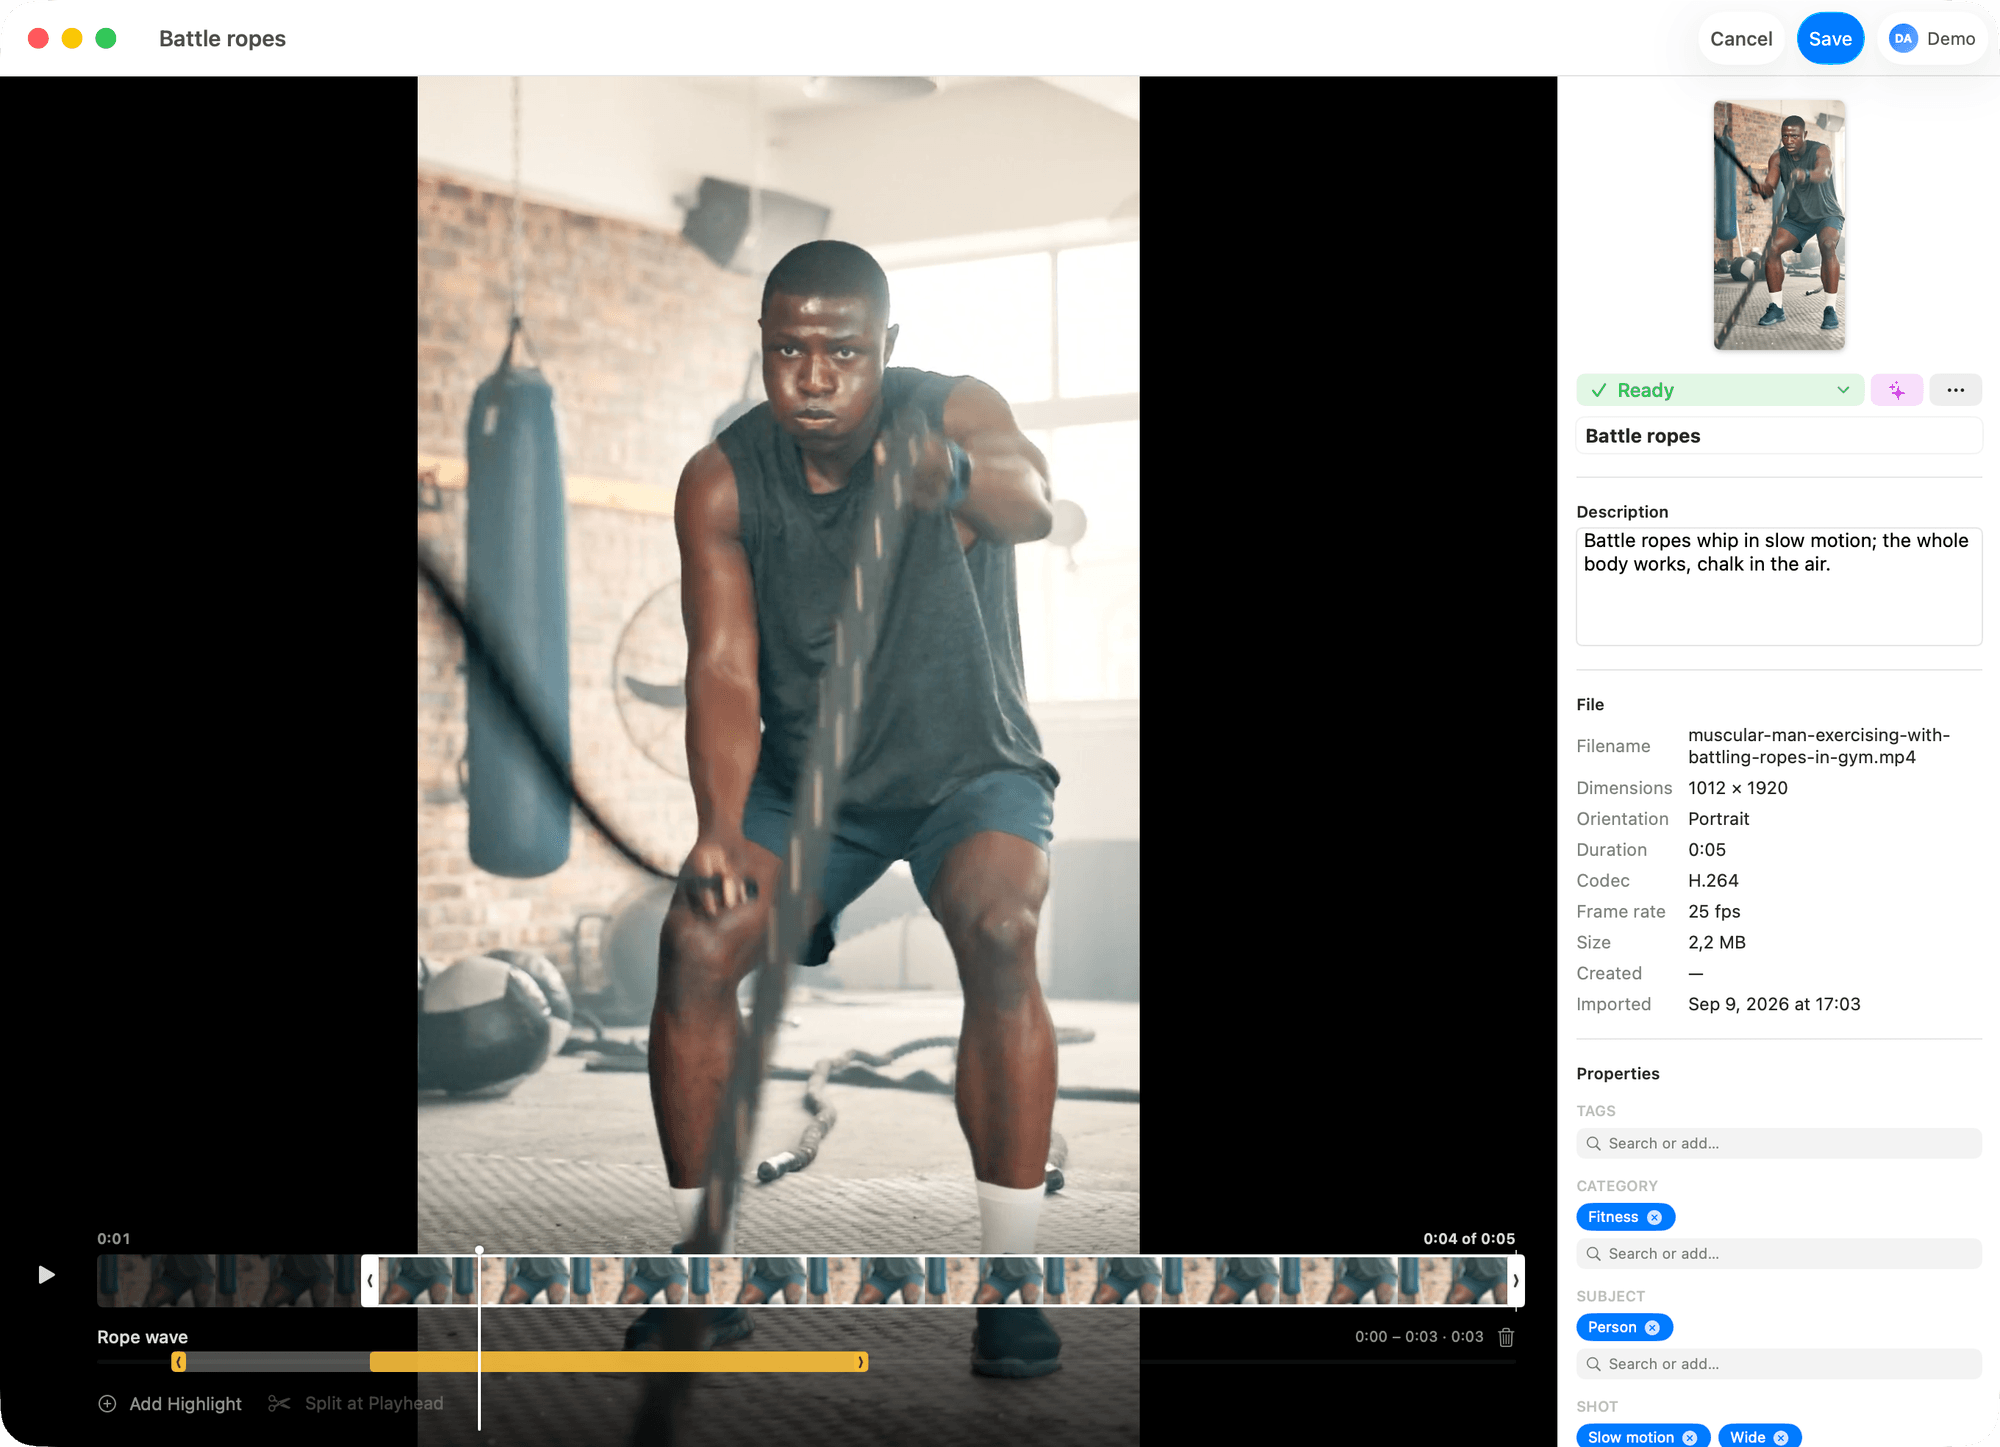
BetterLibrary is a Mac clip library built for that. Import a shoot and it tags every clip in your own vocabulary (Location, Vibe, Exercise, whatever you define), you approve the keepers with ⌘R, and from then on ⌘K takes a sentence: "portrait kettlebell clips from August, energetic" comes back as a filter. Open a clip and mark the moment as a named highlight (⇧⌘H): a named in and out point kept in the index, as many per clip as you like, with the file itself untouched.
Drag a highlight row onto a Final Cut event and it lands as a real file, trimmed losslessly on keyframes with no re-encode, named after the highlight. Nothing was exported by hand and the original in the library is untouched.
The library is a folder you own with a plain SQLite index, so it moves to an SSD with the footage. The method behind it, and how to run the same thing with Finder tags if you'd rather, is in how to organize video clips on Mac.
Where BetterEdits fits, instead of Final Cut
For a long piece, Final Cut. For a 20-second reel, the setup above is most of the work, and that's what BetterEdits removes. It's a deliberately small single-timeline editor for the Mac, in the spirit of Instagram's Edits app, and every default is already the Reels default:
| For a short reel | Final Cut Pro | BetterEdits |
|---|---|---|
| Vertical canvas | Custom project settings | 9:16 by default; 4:5, 1:1 and 16:9 a click away, and nothing moves when you switch |
| Reframing | Spatial Conform, Transform, Crop | Move, scale and crop on the canvas with handles |
| Captions | Transcribe to captions (version 11), limited styling | ⌥⌘T: one-click transcription, inline bars, eight styles with a live 9:16 preview |
| HDR | Library and project colour settings must match | iPhone HLG stays HDR through preview and the 10-bit HEVC export; nothing to set |
| Reels safe zones | TV title-safe overlay | Guides shade the Reels UI, the feed crop and the grid crop |
| Export | Share menu, many formats | ⌘E: HD, 2K or 4K; 24, 30 or 60 fps; Normal or HDR |
| Transitions, effects, colour, multicam | Yes | No |
| Price model | One-time purchase on the Mac App Store | Free download; plans include AI credits and start with a trial |
| Requires | A recent macOS | macOS 15 or later |
The "No" row is the honest one. BetterEdits has no transitions, effects, keyframes, speed changes or colour grading, and it's version 0.1. If the reel needs a dissolve, it's a Final Cut reel. If it needs four clips, captions, a voiceover that ducks the music and an HDR 9:16 export, it's a BetterEdits reel, and the whole thing happens on one timeline, with the export sheet offering HDR only when the footage actually is HDR. The wider field is compared in the best vertical video editor for Mac.
What to do next
Open your last vertical Final Cut project and check two things: the project resolution reads 1080 × 1920, and the library's colour processing matches the footage. If both are right, your exports are already as good as the platform will let them be. If you'd rather skip the setup for the next reel, download BetterEdits and drop the same clips on its timeline.
Questions people ask
- What resolution is vertical video in Final Cut Pro?
- 1080 × 1920 pixels for a 9:16 Reel or TikTok, or 2160 × 3840 for 4K vertical. Set it in the project's custom settings when you create the project, or modify an existing project's properties from the inspector.
- How do I make horizontal video vertical in Final Cut Pro?
- Put it in a 1080 × 1920 project, set the clip's Spatial Conform to Fill, then use Transform to slide and scale the subject into frame. With 4K horizontal footage, set Spatial Conform to None and you can reframe without upscaling.
- Which export settings should I use for Instagram Reels from Final Cut?
- Export File, 1080 × 1920, the footage's frame rate (usually 30 fps), H.264 at Better Quality for SDR or HEVC 10-bit for HDR, AAC audio. Instagram re-encodes on upload, so a clean source matters more than a huge bit rate.
- Can I export HDR vertical video from Final Cut Pro?
- Yes. Set the library's colour processing to Wide Gamut HDR and the project's colour space to HLG, then export HEVC 10-bit. If either setting is wrong the export looks flat and grey.
- Is there a simpler way than Final Cut for short reels?
- For a 20-second reel, BetterEdits on the Mac defaults to 9:16, captions the timeline with one keystroke, keeps iPhone HDR through to a 10-bit HEVC export, and has no project settings to get wrong. It has no transitions or effects, so keep Final Cut for longer pieces.
Keep reading
- BetterEditsHow to Add Captions to Reels on Mac, AutomaticallyAdd captions to Reels on Mac: what Final Cut, iMovie, CapCut and Descript offer, then a step-by-step in BetterEdits from one keystroke to burned-in bars.
- BetterEditsBest Vertical Video Editor for Mac (7 Options Compared)The best vertical video editor for Mac depends on how much editor you want. Seven options for 9:16 reels, compared on captions, HDR and learning curve.
- BetterEditsCapCut Alternative for Mac, 6 Editors That Use Real FilesSix CapCut alternatives for Mac, ranked for short vertical video: what each does better, what it lacks, and what you give up when you leave CapCut behind.